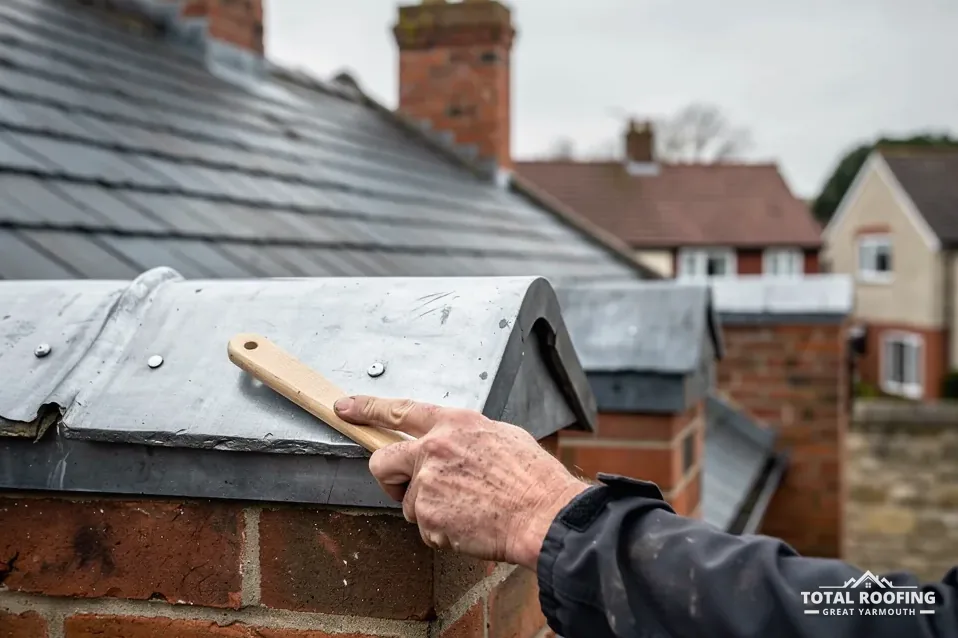
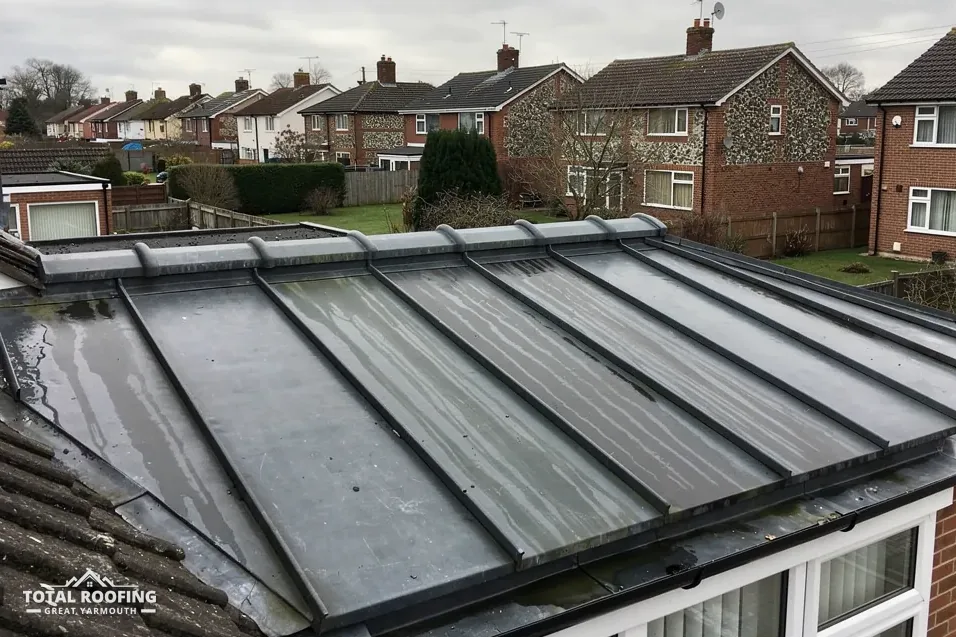
The parts of a lead-covered dormer
A dormer window stands out from the main slope as a little room with its own walls and roof. Each of those surfaces has a different job, and a different lead detail. The two side walls are the cheeks, the roof of the box is the top, the strip under the window is the apron, and the places where the box meets the main roof are the junctions. If a dormer leaks, the first question is which of these four it is, because each is repaired differently.
The cheeks can be timber-framed and clad on the outside with sheet lead, tiles or boards. Where lead is used, it is dressed over a boarded deck and turned at the corners. A dormer top can be a flat roof of its own, a small pitched roof or a curved one, and a flat top is built much like a lead flat roof, with falls, rolls and drips of its own.
The apron sits at the foot of the window frame, where water running down the glass and the front face lands. Lead there is turned up behind the frame and over the sill, and it takes the run-off from the whole front elevation of the box. That makes it a busy detail for such a small piece of metal, and the reason a dormer apron is worth a close look whenever the window frame is being refitted or repainted.
The junctions are where the cheek meets the main slope, and where the back of the dormer meets the roof above it. They are the places where lead has to do the most: it has to step with the tiles, climb the cheek and shed water onto the covering below. Written quotes for dormer work should name which of these parts is being done, so you can see whether they cover the whole dormer or one corner of it.
Cheeks, and why they are the problem children
The cheeks take weather on both faces. Rain strikes them from the side, and water running down the main slope hits them head on, so the join between cheek and slope carries more water than it looks as if it should. That join is where the soakers and the step flashing sit, and it is the part of a dormer that takes the most movement.
Lead on a cheek is dressed up and over a board, with its upper edge tucked under the window frame or the cheek's top edge, and its lower edge running down the slope in steps. Each step has to lap the tiles properly, and each piece has to be free to move. A cheek covered in one rigid sheet, nailed through the face, will split along the line where it meets the slope as the lead expands and contracts.
The leadwork at the top of a cheek, where it meets the edge of the dormer roof, is a separate detail from the one at the bottom. Water that gets behind it runs down the inside of the timber frame, so a stain under the window may show indoors well away from the real fault. A survey follows the water back up, not just across the ceiling, and it looks at the timber frame behind the lead as well as the sheet itself. Damp that has reached the framing can show as a stain, a soft patch or a smell inside the room.
Where lead is replaced on a cheek, the sheet's code is set by the specification for that detail. Leadworx, a lead flashing maker, lists codes 3 to 8 under BS EN 12588 and describes code 4 as the standard choice for general flashing work, with code 3 as "Soakers / Light duty". The detail, not habit, sets the code.
Where a cheek leak starts
- Split lead along the line of the slope
- Steps lifted or curled at the tile edge
- Gap under the window frame or sill
- Cracked sealant hiding a failed joint
- Rotten timber behind a patched sheet
The dormer top and the apron
A dormer with a flat top is a small flat roof, and the same rules apply. It needs a fall, a sound deck and joints placed so the lead can move. Because the area is small, it is tempting to leave out the drips and rolls that a larger roof would have, yet a sheet fixed hard to a small deck can still split at the corners where the movement collects.
A pitched top is covered with tiles or slate and finished with lead at the ridge and the sides. The ridge at the front is the highest point of the dormer, so the lead there takes the wind first. Fixings, laps and clips are the details to check, because a lifted edge at that height lets the wind work underneath the sheet.
The apron is the strip of lead at the foot of the window frame. It is turned up behind the frame, dressed over the sill and carried down the front face of the dormer. Because the front elevation drains onto it, the apron fails where the window frame has moved, where the sealant behind it has cracked, or where the lead has been stuck down with mastic instead of being tucked into a joint.
A mastic bead on any of these joints is not a repair, it is a decision to look at the joint again in a few weeks. If you can see a line of grey or black filler along the lead, there is a gap behind it, and the survey will open it up.
Soakers and the main slope
Where the dormer cheek meets the main slope, each course of tiles is paired with a small piece of lead called a soaker, bent into an L-shape so one leg sits under the tile and the other turns up against the cheek. The soakers overlap each other and step up the slope, with a cover flashing closing the top edge of the soakers against the cheek.
This is the part of the work that depends on the roof covering being taken apart and put back, not just the lead being replaced. Replacing soakers means lifting the tiles beside the cheek, so the tiles, the battens and the underlay under them are all seen at the same time. That is the point of a whole-roof look: a failing soaker course tells you about the roofing around it.
Soakers are cut from thin lead, and thin lead does not last as long as the thicker sheet used for a flat top. Leadworx describes code 3 as light duty for exactly that reason. The separate guide on step flashing and soakers shows how the steps are cut and chased into a wall, and the same ideas apply along a dormer cheek.
Slipped or cracked tiles beside the cheek are worth noting even where the lead looks sound, because a loose tile moves the soaker beneath it. A WhatsApp photo of each cheek and of the junction with the main slope lets us take a look, and the price comes only after a survey in person.
How a soaker course is renewed
- Lift the tiles beside the cheek
- Strip the old soakers and flashing
- Check battens and underlay below
- Fit new soakers course by course
- Dress the cover flashing over them
- Relay the tiles over the new lead
Planning permission and consent for dormers
Adding a dormer, or enlarging one, is a different question from repairing the lead on an existing one. A new dormer adds volume to the roof, and under the General Permitted Development Order it falls under Class B, not the re-roofing class. Class B has a volume allowance of 40 cubic metres for a terrace house and 50 for any other house, and extra conditions on position and materials.
Dormers need planning permission in the Broads, a conservation area or a National Landscape: Class B roof enlargements are not permitted development on that article 2(3) land. Inside the Broads Authority's executive area the Broads Authority decides, and elsewhere the district council does. Flats have no householder permitted development at all, and a listed home needs listed building consent for anything touching the building's special interest.
The full position is in our planning permission guide for roof work. Redoing an existing dormer in the same materials in the same places is a different matter from building one, but it can still touch a listed building or a conservation area, so check with the council before work starts. The route is confirmed with the council, or with the Broads Authority inside its area, ahead of any dormer job.
Repair or replace the lead on a dormer
A split in one cheek or a failed apron can be repaired where the lead around it is sound and the timber behind is dry. Where the cheek has failed along its whole length, the soakers have gone or the boards behind the lead are wet, patching is only a pause. Replacing the lead on a dormer means taking it apart, so the survey looks at the timber structure first and the lead second. If the frame is sound, new lead on a sound deck is a clean job; if not, the carpentry comes first and the lead goes on last.
MyJobQuote says correctly installed lead flashing can last for over 80 years. That is a figure for correct installation, and a dormer is a small, awkward detail with plenty of ways to be fitted incorrectly. A lead dormer that is failing after a few years is a sign of how it was fitted, not of lead as a material.
Published lead prices are for chimney flashings only, so a dormer is priced from the survey as one written total. Access, the number of dormers, the condition of the timber and the tiling around each one drive the figure. Reaching a dormer needs scaffold, which sits inside the written total, and where the scaffold stands on the pavement, we arrange the licence with our scaffolder.
The lead roofing and leadwork page lists the rest of the lead guides, and the lead bay window roofs guide covers a similar set of details on a different kind of roof.